Time to complete: 20 minutes In this guide we’ll walk you through how to store media using the Sequence Collections API with Cloudflare Workers, as well as read from the Metadata API to render images This can be accomplished with 8 steps
  1. Obtain a Secret API Key from the Sequence Builder Console
  2. Create Collection from a cURL request one time
  3. Create Token create a token using a tokenID
  4. Create Asset create an assetID
  5. Store an Image process and store an image
  6. Update to Non-private update an asset to be non-private
  7. Publish Collection from a cURL request one time
  8. Render Asset from API from a cURL request one time
First follow this section of the Collectible Minting Service Guide guide to create a cloudflare worker

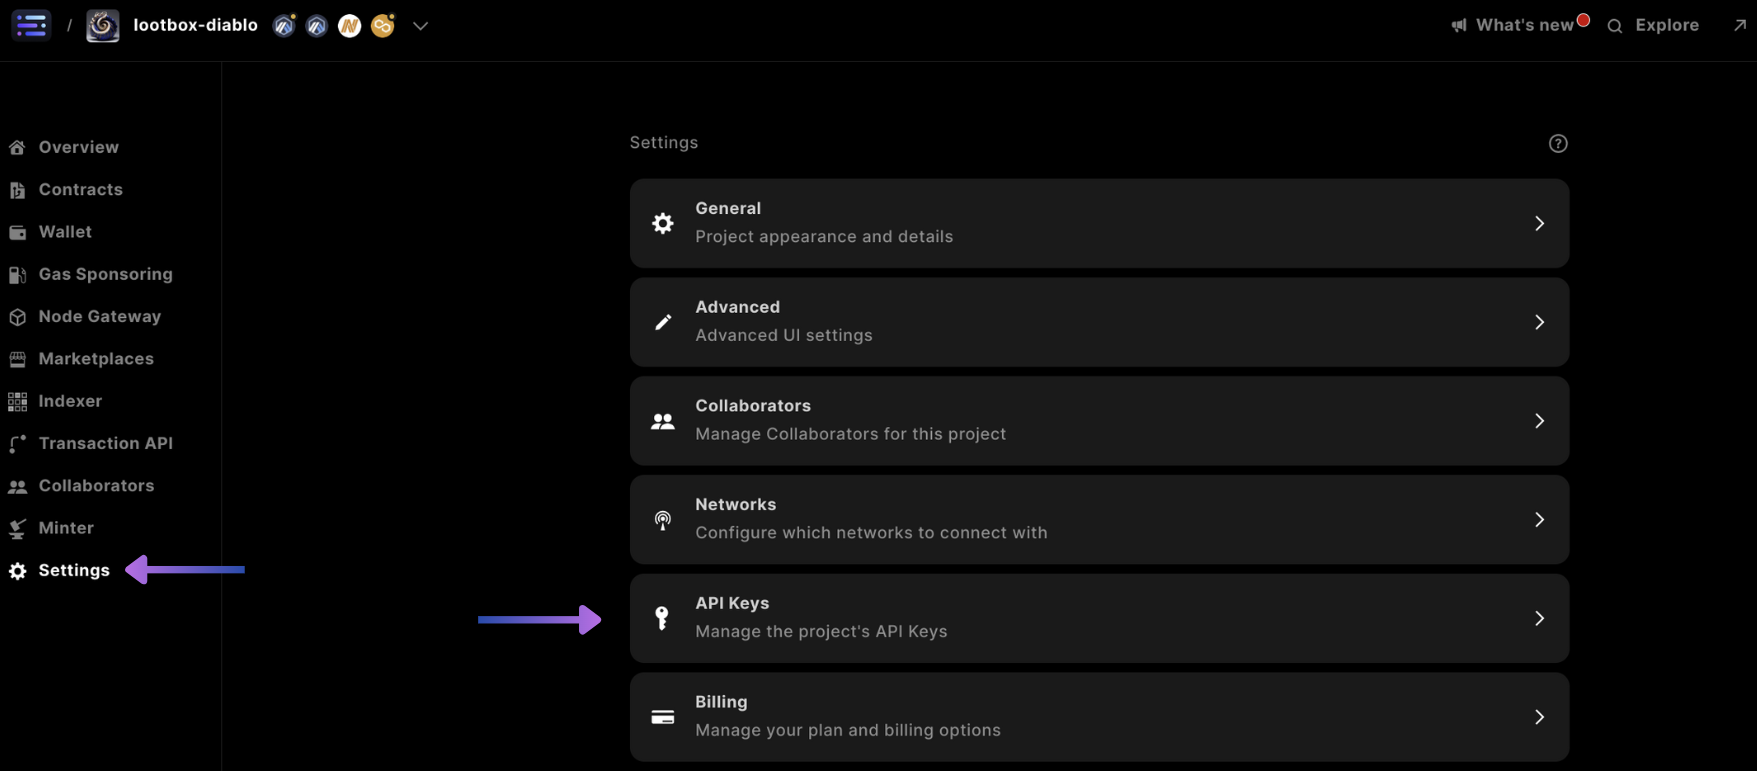
1. Obtain a Secret API Key (JWT_ACCESS_KEY)

In order to use the backend service, a Secret API Key must be obtained to authenticate requests to your project First start by accessing settings, and selecting the API Keys from the Sequence Builder Console
builder settings access keys
Scroll down and select 
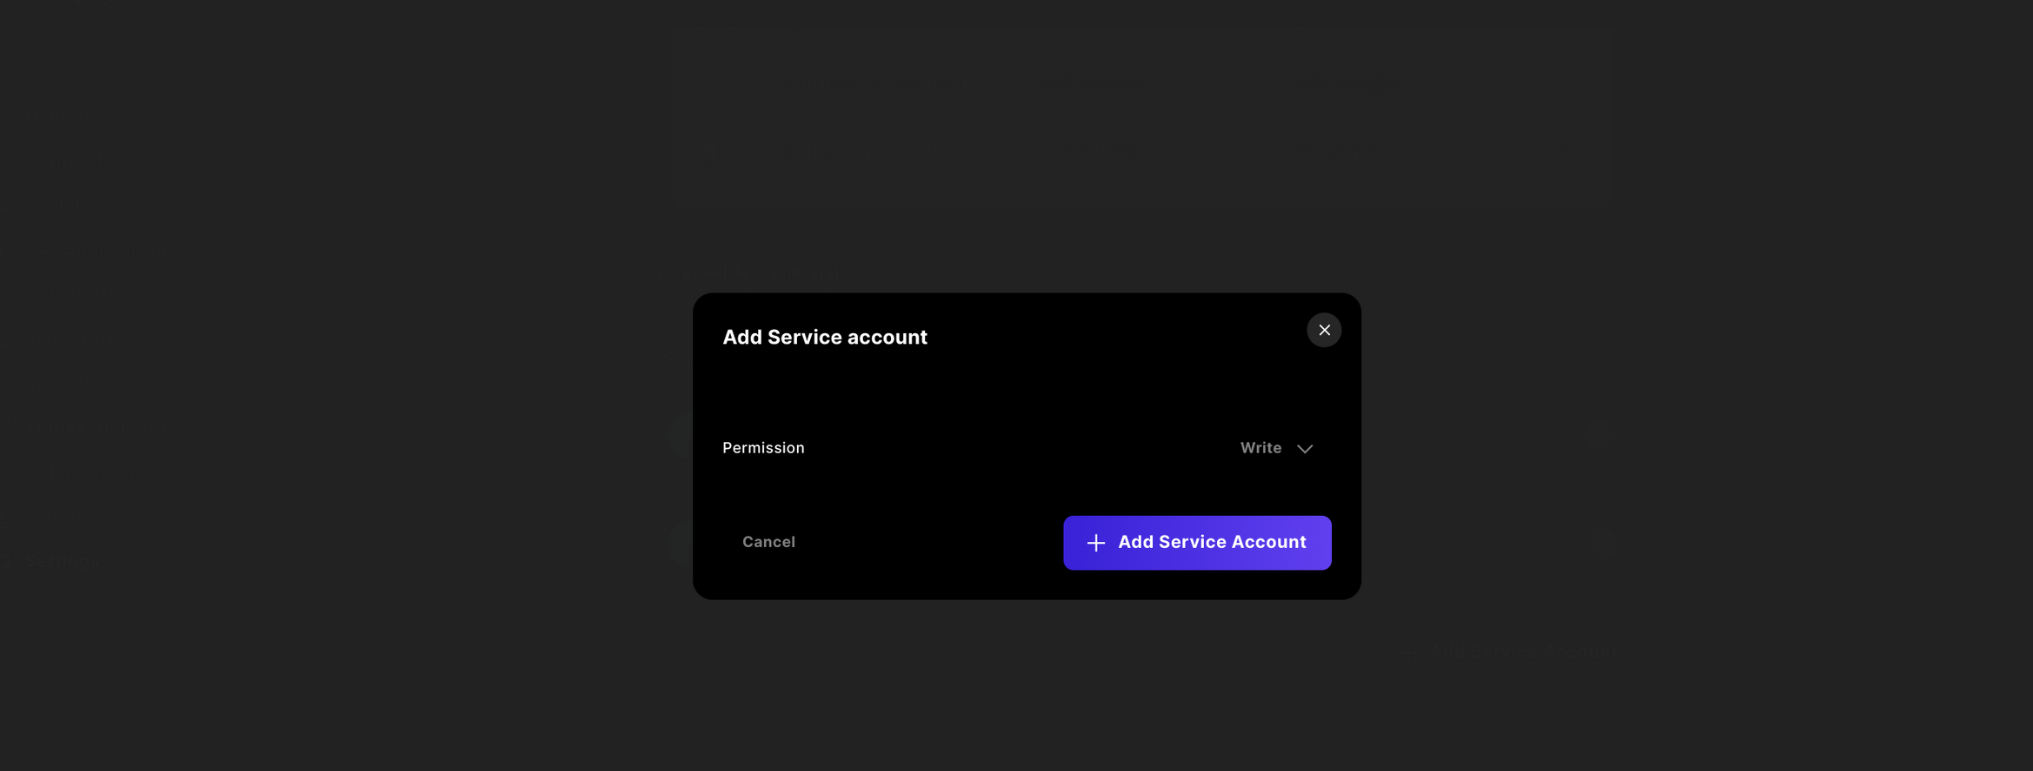
+ Add Admin API Secret Key
builder settings add service account
Then change the access to 
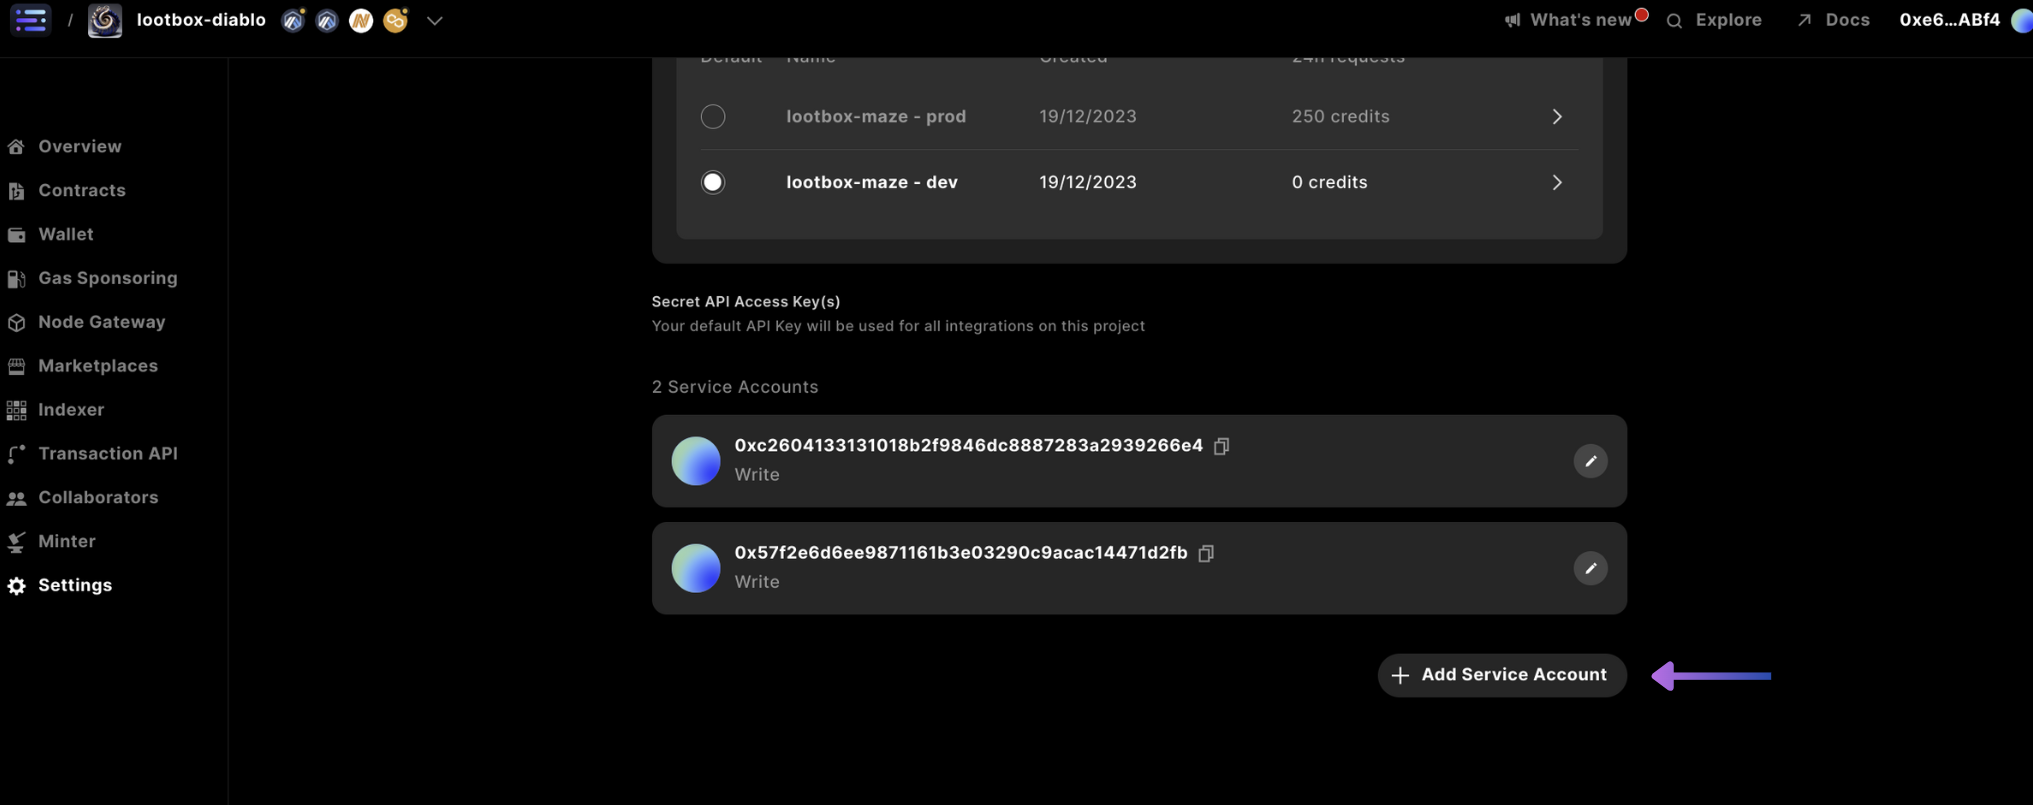
write and confirm by pressing + Add API Secret Key
builder settings add service account
Finally copy the key and store it in your wrangler.toml as JWT_ACCESS_KEY, as you will not have access to this in the future from the Sequence Builder Console.

2. Create Collection from a cURL Request

As a one time requirement to uploading media to the service, a collection has to be first made. By using the Secret API Key and projectID retrieved from the Builder Console We call the service to retrieve a collectionID
curl --location 'https://metadata.sequence.app/rpc/Collections/CreateCollection' \
--header 'Content-Type: application/json' \
--header 'Authorization: Bearer <jwt_access_key>' \
--data '{
    "projectId": <project_id>,
    "collection": {
        "metadata": {
            "name": "<collection_name>",
            "description": "<description>",
            "external_link" : "<https://link>"
        },
        "image": "",
        "decimals": <decimals_typically_as_0>,
        "properties": null,
        "attributes": null
    }
}'
We then set the collectionID from the returned response in the wrangler.toml as COLLECTION_ID

3. Create Token using TokenID

If using a Clouflare worker, ensure to add node_compat = true to your wrangler.toml to allow the window object to be available to the @0xsequence/metadata package
Install the metadata package to use the SequenceCollections with pnpm install @0xsequence/metadata
import { SequenceCollections } from '@0xsequence/metadata'
import { ethers } from 'ethers'
...
const METADATA_URL = 'https://metadata.sequence.app'
const collectionsService = new SequenceCollections(METADATA_URL, JWT_ACCESS_KEY)

const randomTokenIDSpace = ethers.BigNumber.from(ethers.hexlify(ethers.randomBytes(20)))

const res1 = await collectionsService.createToken({
	projectId: projectID,
	collectionId: collectionID,
	token: {
		tokenId: String(randomTokenIDSpace),
		name: name,
		description: description,
		decimals: 0,
		attributes: attributes // can leave blank
	}
})

4. Create Asset using TokenID

In the request, set the metadadaField (assetType) to image, with the other necessary fields completed to return an asset response to be used in the next step
const jsonCreateAsset = await collectionsService.createAsset({
	projectId: projectID,
	asset: {
		id: Number(String(randomTokenIDSpace).slice(0,10)),
		collectionId: collectionID,
		tokenId: String(randomTokenIDSpace),
		metadataField: "image"
	}
})

5. Store Image Asset

With the passed in asset.id from the previous jsonCreateAsset object
	...
	const uploadAsset = async (env: Env, projectID: any, collectionID: any, assetID: any, tokenID: any, url: any) => {
		const response = await fetch(url);
		if (!response.ok) throw new Error(`Failed to fetch file from ${url}: ${response.statusText}`);
		const arrayBuffer = await response.arrayBuffer();
		const blob = new Blob([arrayBuffer]);

		const formData = new FormData();
		
		formData.append('file', blob);
		
		let METADATA_URL = 'https://metadata.sequence.app'

		// Construct the endpoint URL
		const endpointURL = `${METADATA_URL}/projects/${projectID}/collections/${collectionID}/tokens/${tokenID}/upload/${assetID}`;

		try {
			// Use fetch to make the request
			const fetchResponse = await fetch(endpointURL, {
				method: 'PUT',
				body: formData,
				headers: {
					Authorization: `Bearer ${env.JWT_ACCESS_KEY}`, // Put your token here
				},
			});
		
			// Assuming the response is JSON
			const data = await fetchResponse.json();

			return data;
		}catch(err){
			console.log(err)
		}
	}
	...
	const uploadAssetRes = await uploadAsset(env, projectID, collectionID, jsonCreateAsset.asset.id, String(randomTokenIDSpace), imageUrl)
	...
Where the returned uploadAssetRes.url is the media file url living on Sequence servers

6. Update Non-private Token

Now, we make the token non-private by setting a private boolean to false
const res3 = await collectionsService.updateToken({
	projectId: projectID,
	collectionId: collectionID,
	private: false,
	tokenId: String(randomTokenIDSpace),
	token: {
		name: name,
		attributes: attributes,
		tokenId: String(randomTokenIDSpace),
	}
})

7. Publish Collection From A cURL Request

Finally, also as a one time request, we publish the collection based on the projectID and collectionID by running the following command
curl --location 'https://metadata.sequence.app/rpc/Collections/PublishCollection' \
--header 'Content-Type: application/json' \
--header 'Authorization: Bearer <jwt_access_key> \
--data '{
    "projectId": <project_id>,
    "collectionId": <collection_id>
}'
This would make the collection and all the tokens with the private flag set as false accessible publicly, while others remain hidden until changed

8. Render Asset from API Publicly

You can test your prior work, by calling this cURL request with the updated variables, which will download the file to your local terminal. Or, you can copy and paste into a browser and see the image Where if you used the same code, the <file_name> will be image.png
[cURL]
curl --location 'https://metadata.sequence.app/projects/<project_id>/collections/<collection_id>/tokens/<token_id>/<file_name>' --output stored_file.png
And if you were using the collection for the baseURI of an ERC721 or ERC1155 you would write to a smart contract setBaseMetadataURI the following URI
https://metadata.sequence.app/projects/<project_id>/collections/<collection_id>/tokens/
And the smart contract will automatically append the tokenID to the end Give it a try
[cURL]
curl https://metadata.sequence.app/projects/1229/collections/40/tokens/457657099779485875855215293997335918990635014431
Or in a browser

Render Asset from API Privately

If you decide to keep your assets private (in the token parameter, private: true), you can still view the token image if you provide the jwt_access_key in the header. For this guide, the metadata_field is set to image
[cURL]
curl --location 'https://metadata.sequence.app/projects/<project_id>/collections/<collection_id>/tokens/<token_id>/asset/<metadada_field>' \
--header 'Authorization: Bearer <jwt_access_key>' \
--output stored_file.png
Full code for this guide can be found here